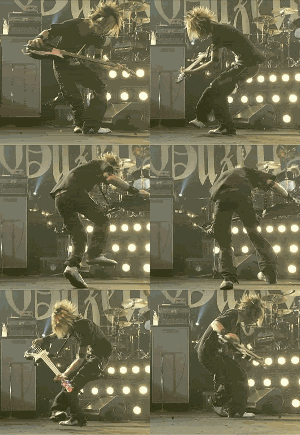
source: http://rachmatullah83.wordpress.com/2009/07/13/tutorial-membuat-efek-pada-foto-dengan-photoscape/
How to make an effect on the image can be done with Photo Editing applications such as Photoshop, GIMP and so on. Besides these applications, Photoscape fairly easy to use because of its simple. The effects of the resulting image is no less great. Here's how...
A. Open the application Photoscape, if not have to download here
2. Select the Editor
3. Next look for photos to be given effect in the browse field (containing the documentyou) in the upper left
4. After that move the photos to be given effect from left to right
5. All menus are available here pretty much, there is a unique frame, rotate, sharpen,filters, etc., depending on how we create and combine. Please try your own, for example,in the courtyard below. Important: if you do not fit with the effect shown can diUndo kok(bottom right), provided that prior to the Save ya ...
6. This menu boxnya as a reference to the examples below:
7. After giving effect finish, images can be saved by clicking Save >> Save as (in ordernot to change the original photo)
Here are examples of their effects:
a. Click on the triangle B, select the desired frame
b. Click on the triangle in C >> Antique Photo, choose as you wish, can set colorconvertionnya
c. Click on the triangle in C >> Lens Flare, determine its position, the amount of light, the thickness and length. If you want more than one, repeat again in this way.
d. Click on the triangle in C >> Make a Box, select the desired type
e. Click on the triangle in C >> Reflection. Size, level and perspective can be arranged.
Thus his ways, please try this Photoscape tutorial. Happy to be creative ...
About Me
- Yusuf Agung Nur Grahito
- SURAKARTA, JAWA TENGAH, Indonesia
- Pernah bersekolah di SDN Begalon 2 Surakarta berlanjut ke SMP N 2 Grogol, Skh. Lalu ketika semester 3 pindah ke Banjarnegara, bersekolah si SMP N 2 Banjarnegara dikarenakan perintah orang tua. Dan saat semester ke 4 pindah lagi ke Solo dan bersekolah di SMP N 25 Surakarta. Sekitar tahun 2004/2005 lanjut ke SMK TP 2 Surakarta dan lulus pada tahun 2008. Mulai berkuliah di POLITEKNIK INDONUSA SURAKARTA pada tahun 2010. Minat saya hanya ingin bekerja dengan imajinasi saya, bukan dengan tenaga maupun berfikir hitung-hitungan yang ribet, hehe.. Saya ingin menjadi seorang desainer dan musisi.. :-D
Monday, May 21, 2012
Subscribe to:
Post Comments (Atom)


0 comments:
Post a Comment
Coment here